
Woolly Bunnies at Loop
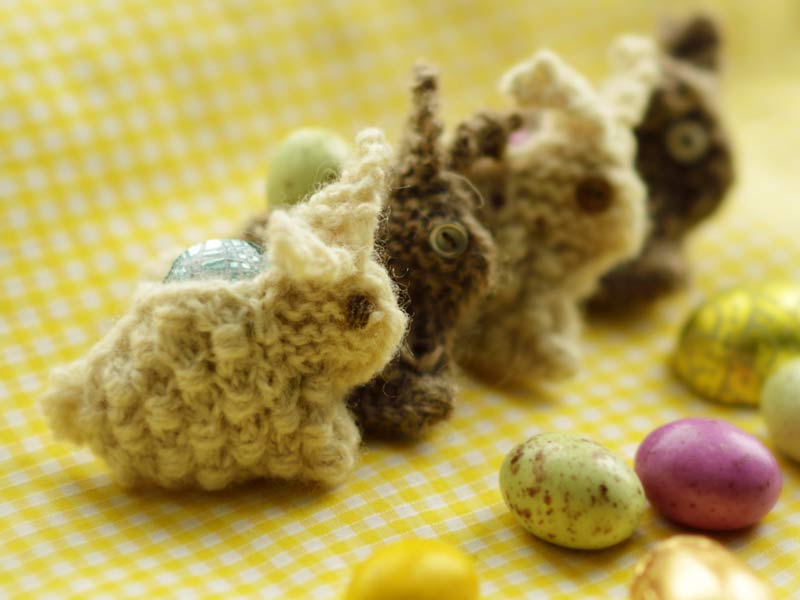
You probably didn’t know you needed a bunny brooch for your shawl. But you do. You need one with a secret pocket for hiding little chocolate eggs in.
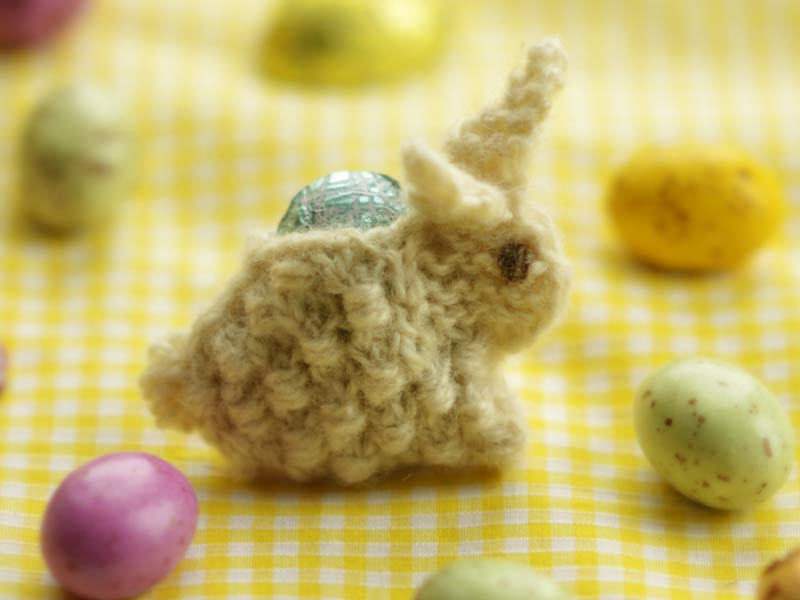
I won’t tell you if those chocolate eggs are part of the children’s egg hunt or if they are your own private stash. That’s up to you. But I offer you this little pattern for a Bunny Pin (with a Secret Pocket) to try out with some lovely natural wool yarns.
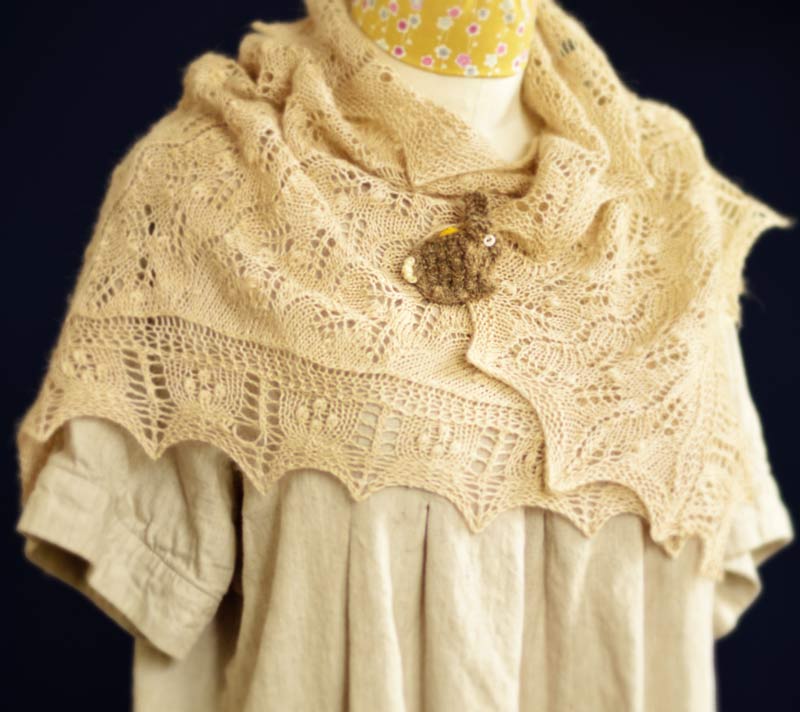
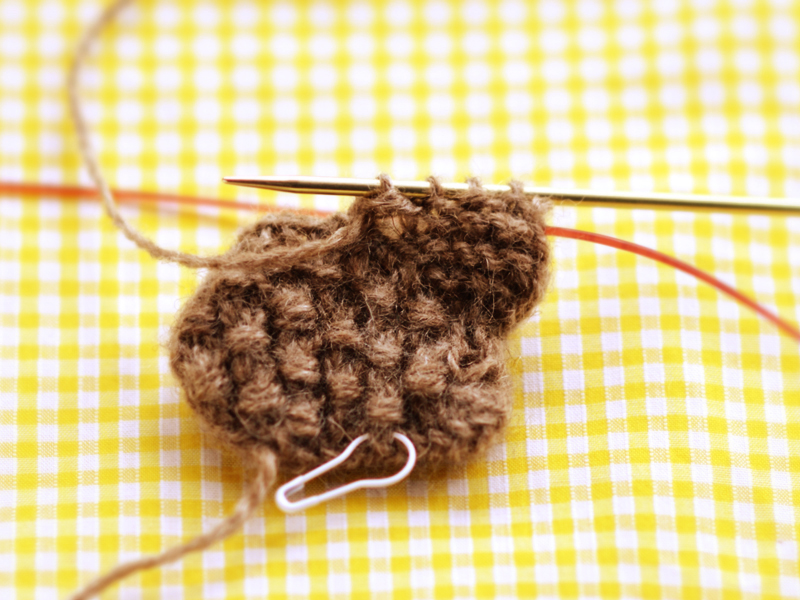
This little chap is knit in the round, even though he lies flat. He has a hidden pocket inside for secret messages or chocolate eggs and is firm enough to make a brooch for your Easter shawl. I’ve used the lovely new yarns from Blacker in natural British sheep Breeds. You can download and print a free copy of the pattern from here: Bunny with Secret Pocket.
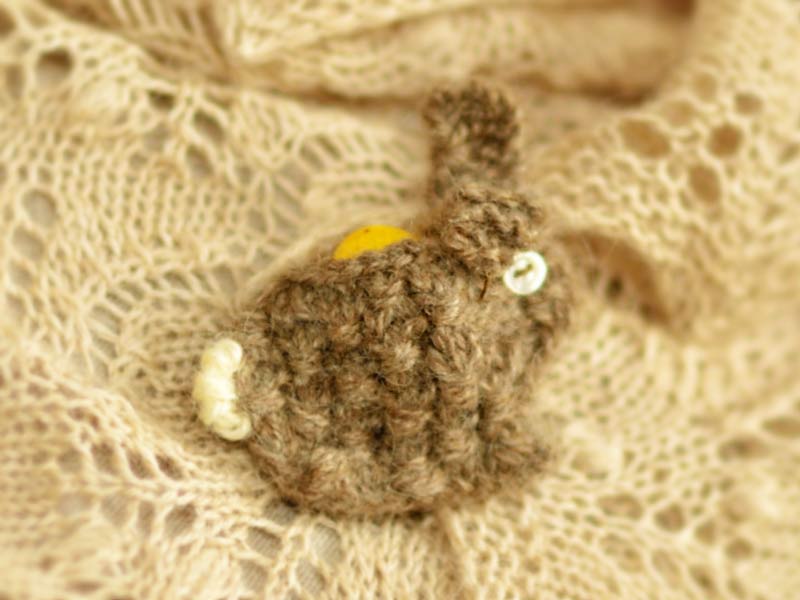
Yarn: Brown: Blacker Manx Wool with 50% Mohair, 4-ply
White: Blacker Blue-faced Leicester Wool, 4-ply
Needles: 2.75mm or the size you use for knitting 4-ply socks. You want a firm tension.
Notions: Tiny button for eyes, darning needle
Abbreviations:
K: knit
P: purl
St(s): stitch(es)
Rnd: Round
CO: Cast On
BO: Bind off
Ssk: Slip, slip, knit
k2tog: Knit 2sts together
P2tog: Purl 2sts together
St st: Stockinette stitch; knit on right-side rows, and purl on wrong-side rows
M1: Make one; knit in back loop of the bar between stitches
W5: Wrap 2sts, 5 times, without knitting the sts; Slip the 2sts on your left-hand needle to your right-hand needle and bring yarn forward, slip them back to the right-hand needle putting the yarn to the back again. This is one wrap. Repeat wrap, 5 times. The two sts are never knit.
Instructions:
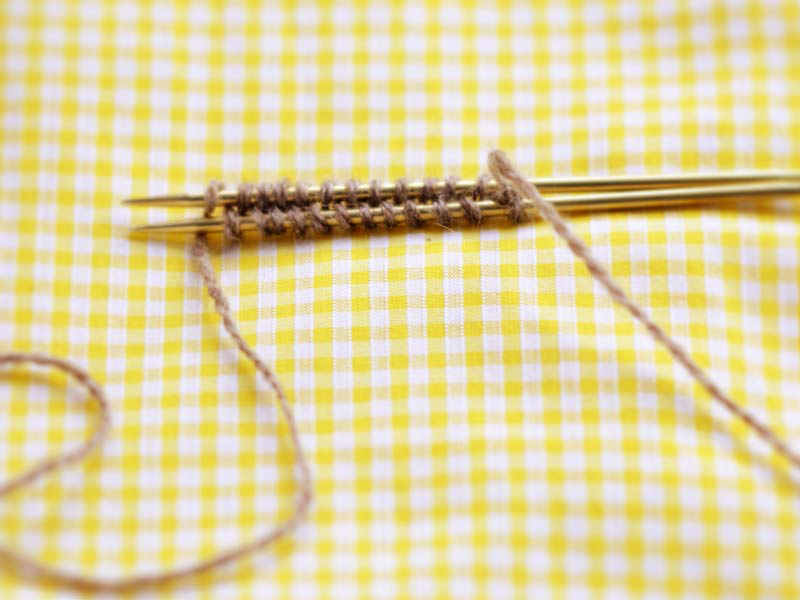
CO 24sts onto two ends of a circular needle, using the figure 8 method to knit in the round. (If you are unfamiliar with this, look here for a good explanation.) This will put 12sts on each half of the needle. Place a marker on one side so that you remember this is the “Right Side” of the bunny. The “Wrong side” (WS), in this pattern, refers to the side of the brooch with the pin on it. The WS will be in plain st st. Since it is worked in the round, all WS sts will be knit.

Rnd 1: Using circular needles and the magic loop method, knit one round through the back of all loops.
Rnd 2: RS: SSk, k9, m1, k1. WS: k1, m1, k9, k2tog.
Rnd 3: RS: ssk, k1, wrap the next two sts together 5 times (w5), k2, w5, k2, m1, k1. WS: k1, m1, k9, k2tog.

Rnd 4: RS: k11, m1, k1. WS: k1, m1, k11.
Rnd 5: RS: W5, k2,w5, k2, w5, k3. WS: k13.
Rnd 6: RS: k12, m1, k1. WS: k1, m1, k12.
Rnd 7: RS: k2, w5, k2, w5, k2, w5, k2. WS: k14.
Rnd 8: RS: k14. WS: k14.
Rnd 9: RS: W5, k2, w5, k2, w5, k2, w5. WS: k14.
Rnd 10: RS: k1, m1, k13. WS: k13, m1, k1.
Rnd 11: RS: p4, k3, w5, k2, w5, k2. WS: k15.
Rnd 12: RS: k1, m1, k12, k2tog. WS: Ssk, k12, m1, k1.
Rnd 13: RS: p5, k1, w5, k2, w5, k1, k2tog. WS: Ssk, k13.
Rnd 14: RS: k12, k2tog. WS: Ssk, k12.
Rnd 15: RS: p5, k3, w5, k2tog. WS: Ssk, k11.
Rnd 16: RS: ssk, k5, BO5. WS: cont. BO6, k4, k2tog.
Rnd 17: Just work in the rnd for the bunny’s head now: RS: p3, p2tog. WS: ssk, k4.
Rnd 18: RS: k4. WS: ssk, k3.
Rnd 19: RS: p4. WS: k4.
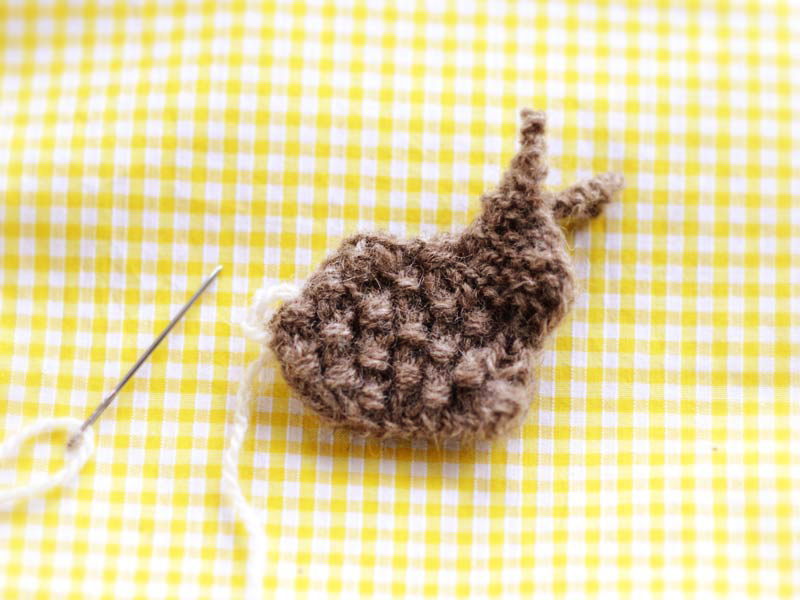
Front Ear: Work back and forth on bunny’s front ear: k4, turn. k4, turn. k2, k2tog, turn. K3, turn. K3, turn. K3, turn. K1, k2tog, turn. K2 , BO. Cut yarn, leaving a 15cm tail.
Back Bunny ear: With RS of bunny facing, re-join yarn, beginning with needle tip facing out bunny’s nose, and repeat steps for front ear.

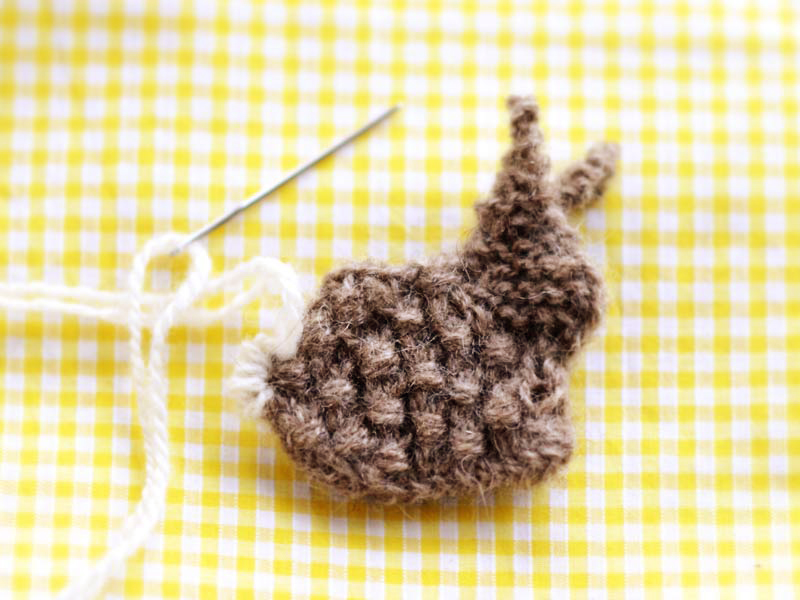
Finish: Darn in all yarn ends. Embroider a puffy tail. Add button eye. Sew a safety pin or brooch back to the WS of bunny. Make sure you don’t sew through both layers of bunny, so that he can still carry secrets in his pocket. You can give bunny a blast of steam to block him. You can pull with a needle on his nose and toes to bring them out, and steam set.
I hope you enjoy him! ~ Juju at Loop
—
This is a free pattern and all images and text are copyright of Loop Knitting Ltd. It is for personal and non-profit use only. This means you can knit it for yourself, as a gift or for charity. You may not sell a garment made from this pattern. You may not reproduce this for sale. Please ask if you wish to translate it or use to teach a class.
Thank you!
Happy Spring to the wonder women of Loop! The bunnies are just too cute. Thank you for another delightful pattern.
Question: What yarn was used for the lovely cream version of Prairie Shawl?
Best wishes,
Bordergirl
That’s Vail.
Thanks! I would have never guessed Vail. Lovely.
Bordergirl on Ravelry
how cute ! I’ve got my needles out !
I love this! I wish I had seen it in time for Easter this year. It would have made great gifts for coworkers!
Thank you !
Going to have fun making this. Your patterns are easy to understand.
I love this little pin and would like to know if you consider charity to include donating them to a rabbit rescue organization from which I adopted a sweet little bunny. They have an auction and a shop where they could sell these to help fund their bunny rescues. Thank you for your consideration of this. Their website address follows.
bhrabbitrescue.org/
Hi Patricia,
Thanks for asking and checking with us – we are happy for this pattern to be used for charity.
Best of luck with the fund raising!
Loop x
This is adorable! My two-year-old daughter loves bunnies AND secret pockets. But I would love to adapt the pattern by making both sides fuzzy, so it’s a symmetrical little stuffed animal instead of a pin. Can you suggest a good way to do that?
Hi Natalie,
You could adapt the pattern by using the textured stitch on both sides, and sewing up the space at the top after you have stuffed it…Good Luck! Let us know how it goes.
Loop x
Hi. I love this, have tried the tutorial and multiple you tube videos on magic loop. Alas but fingers will not cooperate.
How may it be done with double points?
Thank you.